At this point, we’ll assume your printer will at least respond to your computer, even if it’s only printing blank labels. Now, here are some common settings you may need to adjust to get your labels printing correctly:
Add a Custom Page Size
Your current page size might be too big for your printer, preventing your artwork or barcodes from being printed.
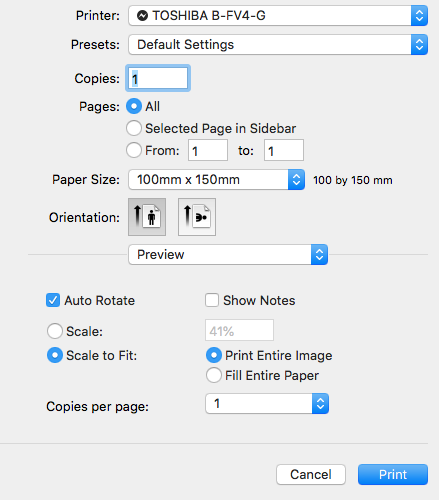
- Open the label artwork you wish to print, then select File > Print.
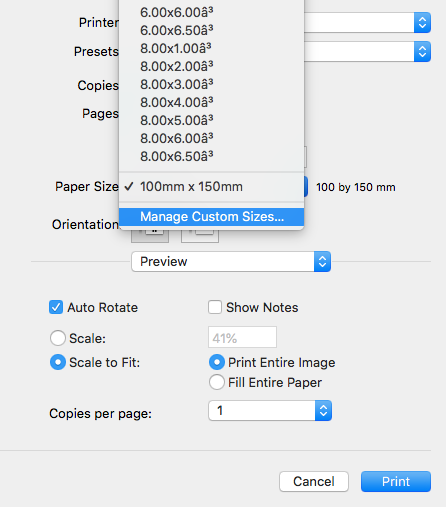
- Under Paper Size, select Manage Custom Sizes… at the bottom of the drop down list, then click + in the new window to add your custom size. You can also set this as the new default for you printer under Printers & Scanners in System Preferences.
- Fill in the page size details as per your label dimensions. For example, if your label has a width of 100mm and a height of 150mm, simply add these details to the Width and Height fields.
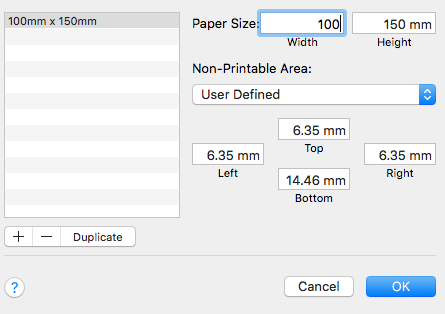
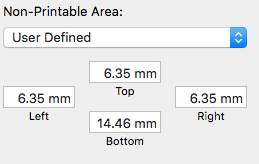
- If you don’t need margins, set them all to 0. Otherwise, adjust them to sensible values as necessary.
- Click OK to close the Page Setup window, and then ensure the newly created size is used whenever you print to your label printer.
For additional information, refer to Apple’s website here.
Scale to Fit
Sometimes the artwork can’t be seen on your labels, or the artwork is not large enough. This could be because it has been scaled down in the print settings.
To fix this, navigate to the print dialogue settings (File > Print), then you will see some options related to scaling. First, try enabling the Scale to fit paper size option by selecting the checkbox. If this doesn’t solve your issue, you can manually adjust the scale as a percentage to find the best setting for your needs.
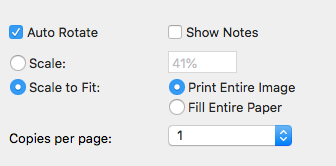
For further information, refer to the documentation here.
Adjust The Page Margin Size
Most commonly, if you can’t see your artwork on the labels, you might have to adjust the page margin.
By default, the page margins are set to specific values when a new Custom Page Size is created. However, if your label is on the smaller side (e.g. 50x25mm), these margins might be too large. To remedy this, simply click the Paper Size pop-up menu, then choose Manage Custom Sizes in the print dialogue settings. Next, you can select one of the custom sizes you’ve created, and adjust the margins from there. To begin with, set all the margins to 0, then gently increment the values and experiment with the results until your labels are printing correctly.
